

Installing MultiMiniBoot (mmboot) into our Dreamboxes
Important - set primary DNS manually !
Manual for versions from v1.31 and newer
1) Once more, before you start installing - please set primary DNS - you may think it's funny, you will be sure in short time - I was right.
On my dreambox setting of DNS looks like:
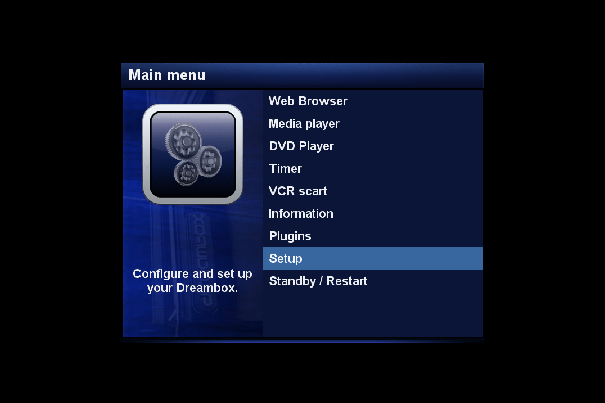
Enter into network settings: Menu > Setup > System
> Network
Enter into for example: LAN connection - and OK
Go to: Adapter settings - and OK
go to bottom - and then: Manual name server configuration (DNS) - highlight
then use arrows on RC Left and Right > change to "True"
And set "Primary DNS ( Manual ) - usually it's IP of our Internet router
- but not always:
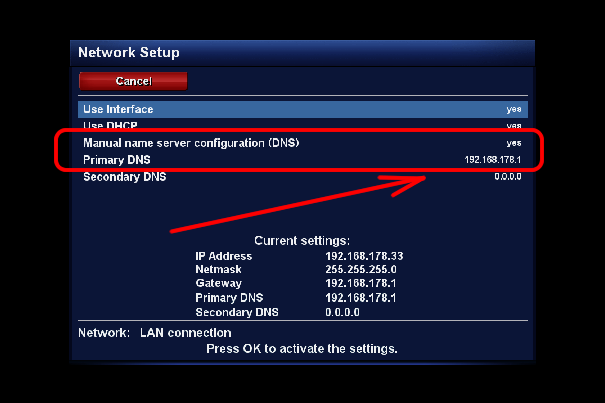
Press OK - confirm - and here we are.
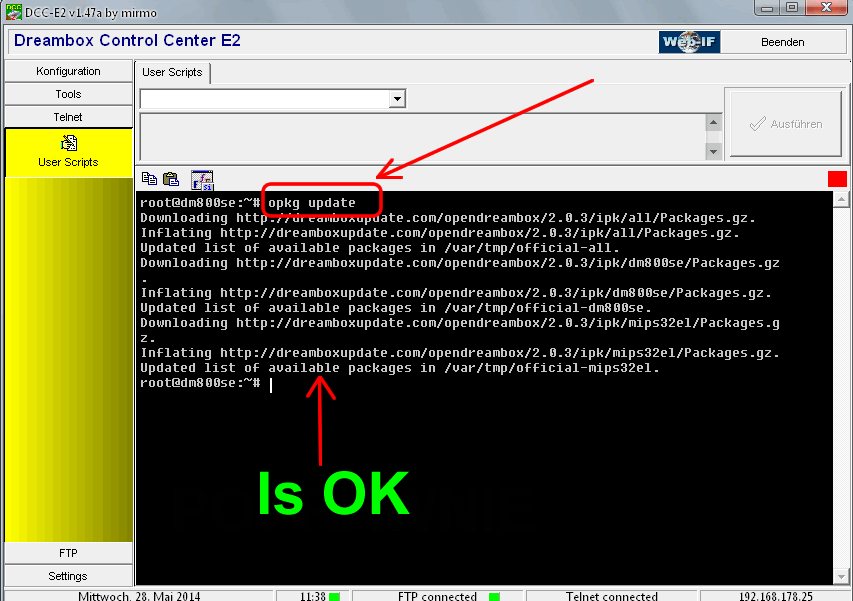
2) To verify if network is proper configured - run Telnet in DCC and type command:
opkg update
and press <Enter>:
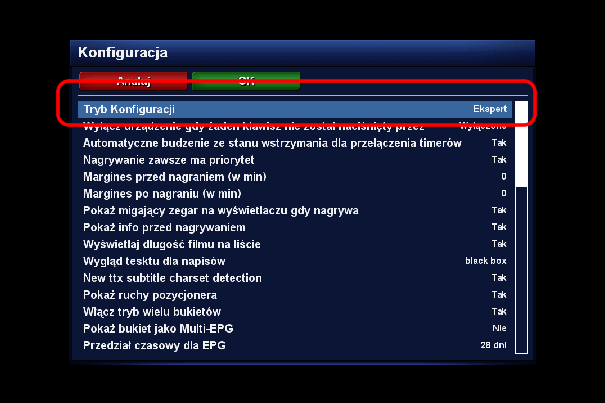
4) I'm setting one more thing in flash - to have in <Standby/ Restart > - option < Restart GUI
> - setting Setup Mode to < Expert >
To do that, you have to go: Menu > Setup > System > Customize - and the first option is Setup Mode:
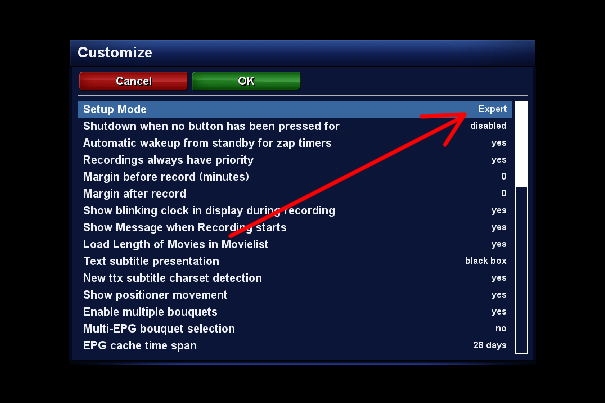
Press <Green> OK and you can see Restart GUI in Menu > Standby / Restart
We don't need better configuration of Dreambox-
I suspect you don't ever use flash image - neither do I.
##################################################################################################################################
If your usb ( pen ) is new
- or formatted using windows, then do not mount pen. Having mmboot v1.31 or newer, we have already installed proper program to initialize pen in our dreambox
- "eParted"
5) Let's go:
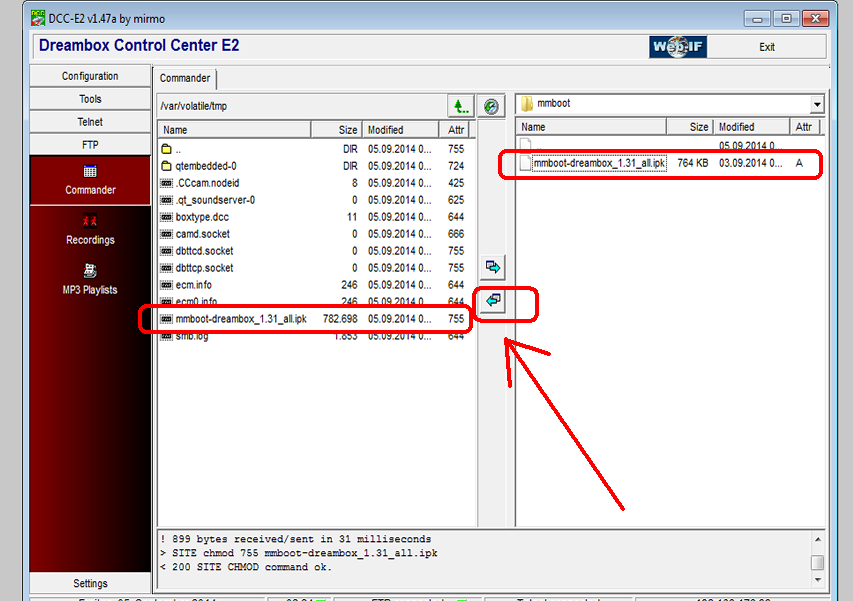
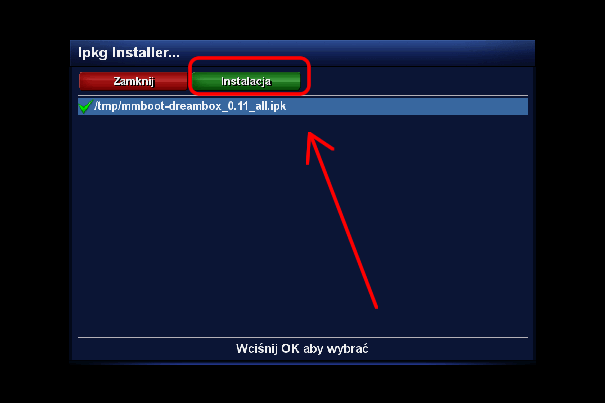
If you have already downloaded mmboot in .zip - just extract it on our computer , to get package mmboot-dreambox_1.xx_all.ipk - having .ipk extension.
Using ftp, transfer package into dreambox, into /tmp/ directory - u can use DCC-Editor
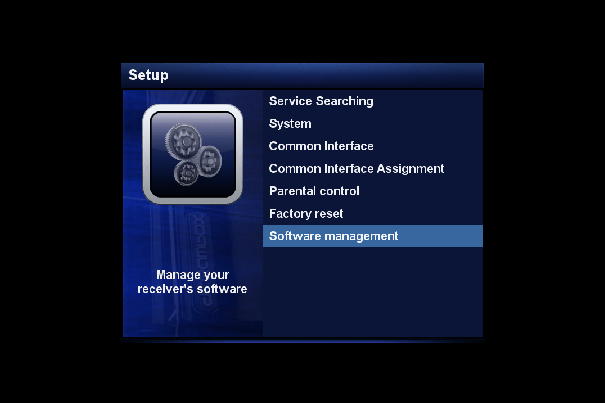
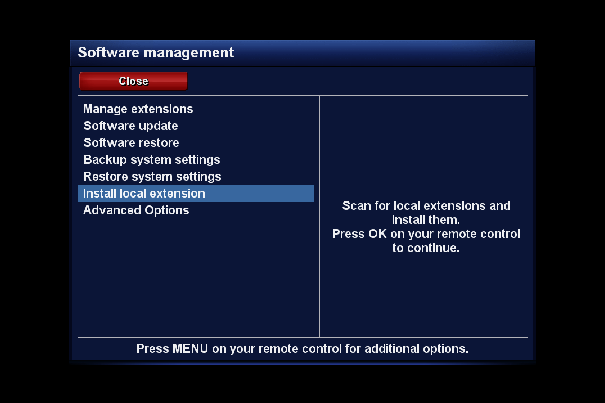
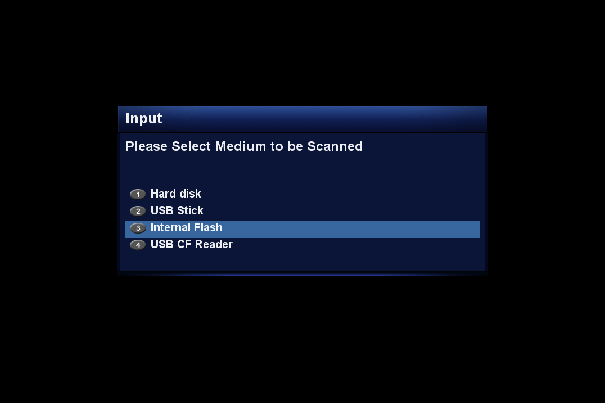
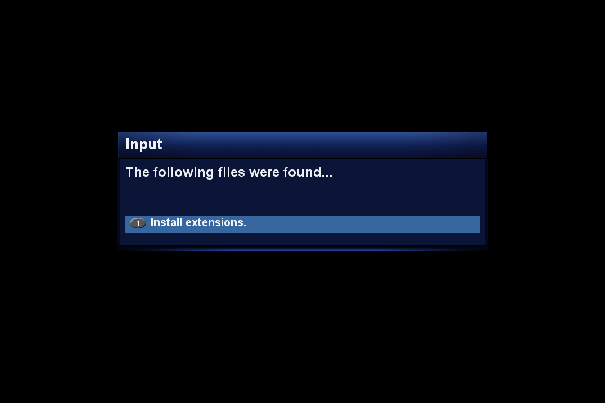
6) Press Menu > Setup > Software management >Install local extension > Internal
Flash > Install extensions ---
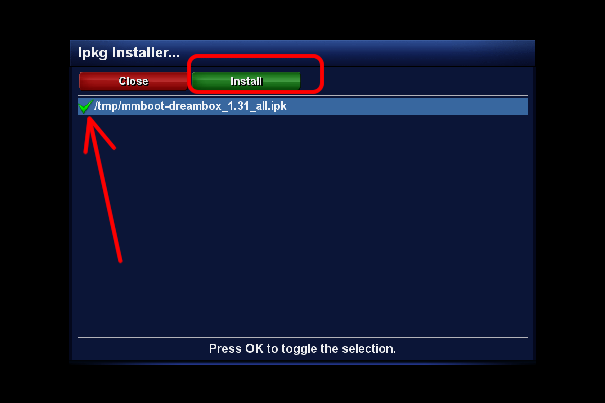
-> Highlight mmboot and press Green - Install
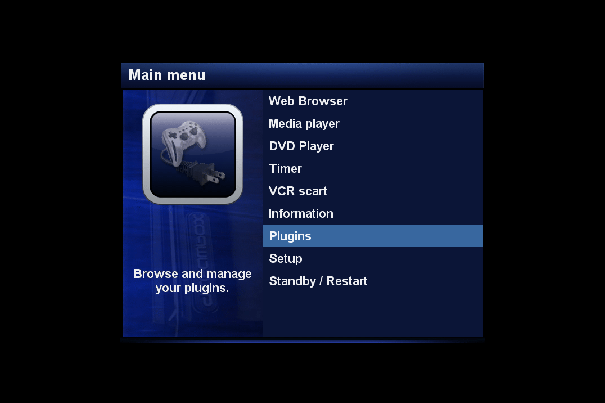
7) After restart - go to Menu > Plugins
-- and you can see mmboot.
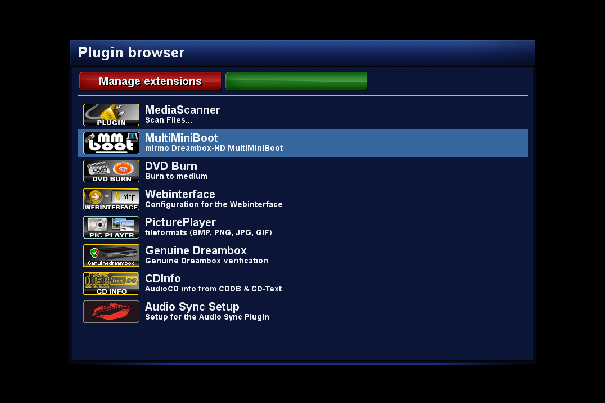
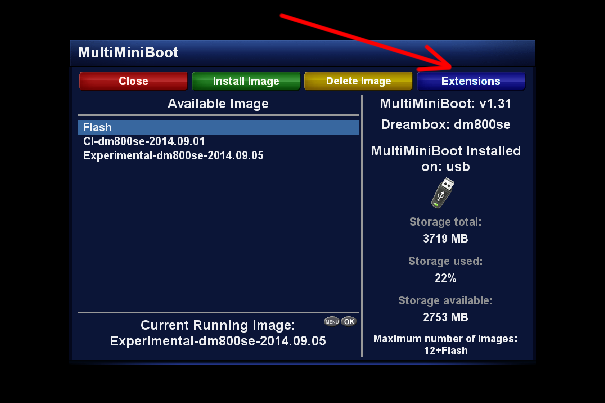
8) Go to MultiMiniBoot
plugin ( -> Menu -> Plugins -> MultiMiniBoot ) - and you can see :
( If you don't want to initialize usb (pen),go to 18) -
mounting or 24) Installing only mmboot )

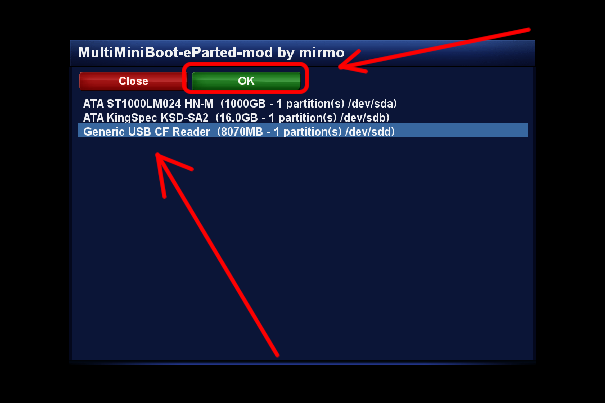
9) To format your pen ( in my example there is only pen - there is no HDD installed ) - highlight it and press < Green
> :
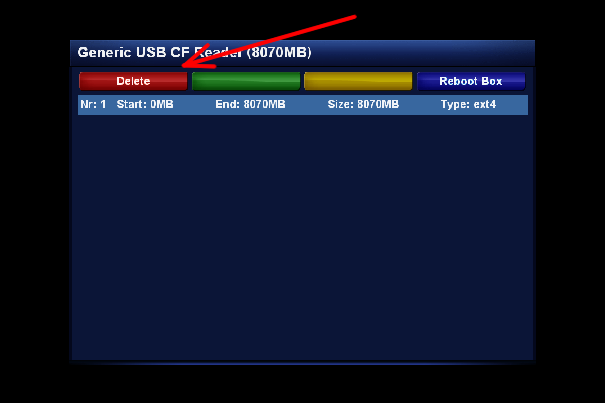
10) If is there any partition, you have to delete it - pressing < Red > ( if are there more partitions
- delete them all, one after one ):
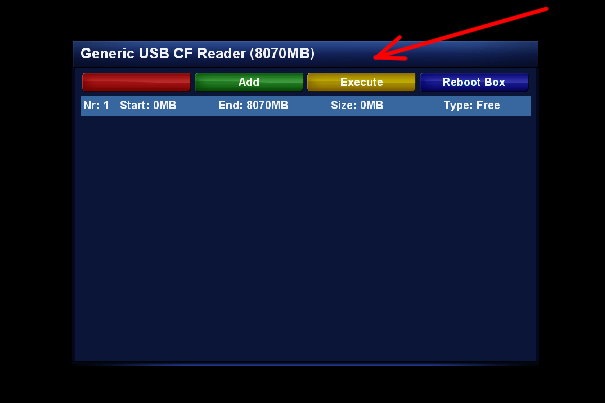
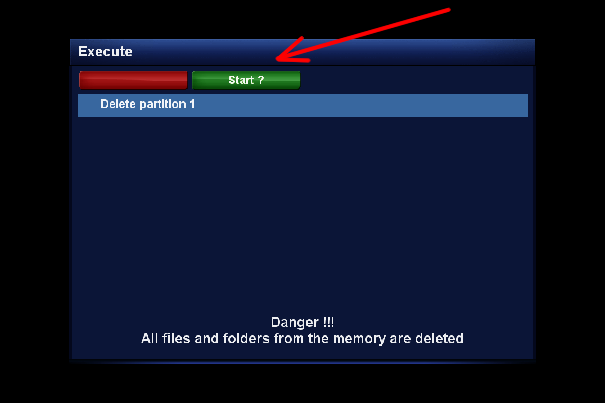
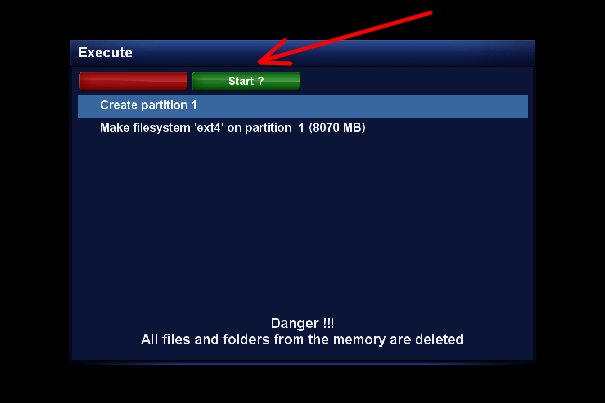
11) You have to confirm execution of deleting partitions - by pressing < Execute> :
12 ) and now press < Green
> Start - after completion, again < Green
> Close:
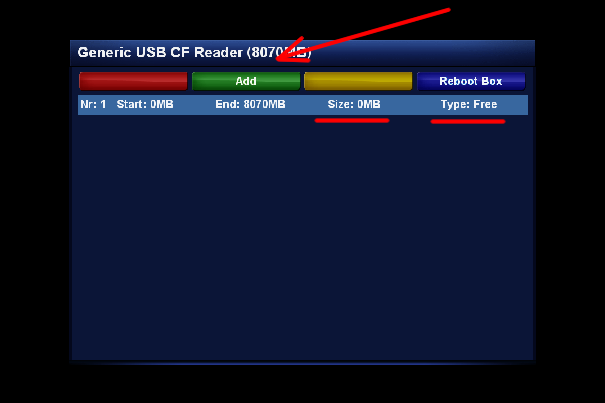
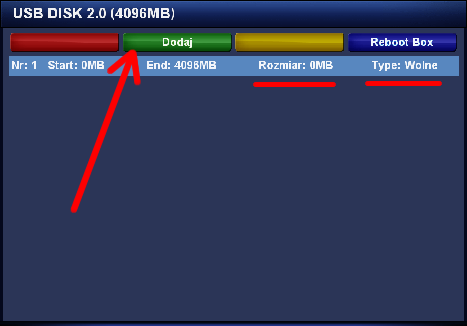
13) Now you have to create partition by pressing < Green > Add ( you can also see pen is clean Type:Free having 0MB) :
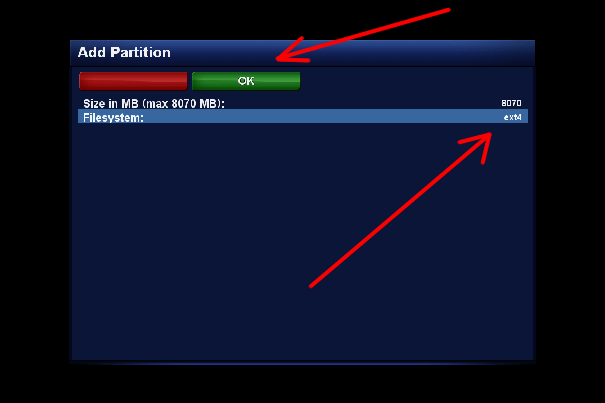
14) Choose filesystem type ( you can see ext4 in my example - what I recommend you( in
800hd-pvr you can choose ext3 only )) - and press < Green
> OK:
15) again - you have to confirm execution by pressing < Yellow > :
16) just one task left < Green
> Start - execute formating ext4 - waiting for < Close > on green key - and close :
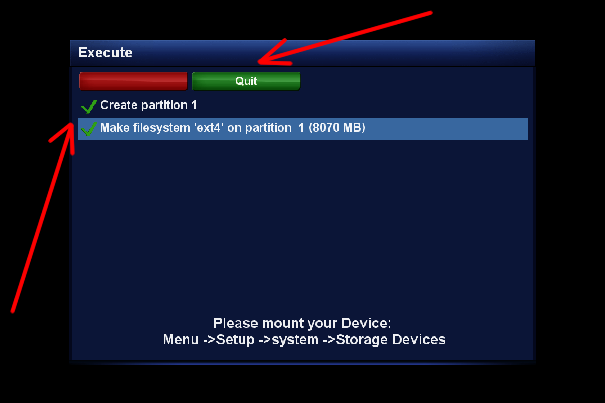
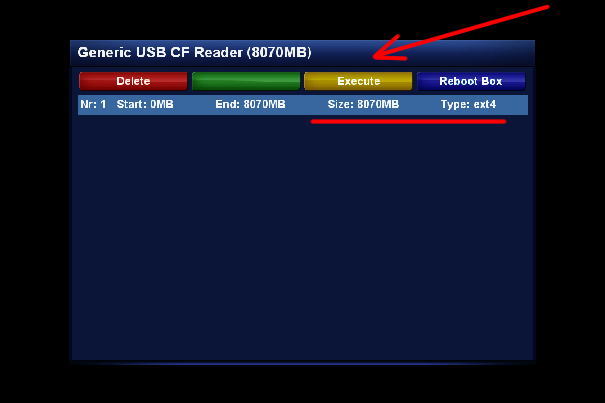
17)
After closing partition is ext4 - to complete please press < Blue
> Reboot Box :

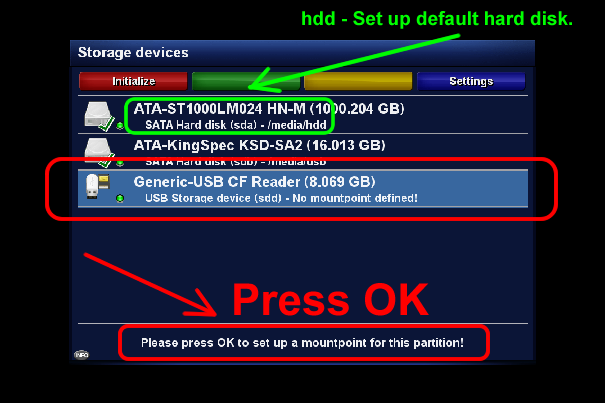
18) After reboot go to -> Menu -> Setup ->
System -> Storage Devices ( be careful - don't press Initialize
) - highlight the device and press OK:
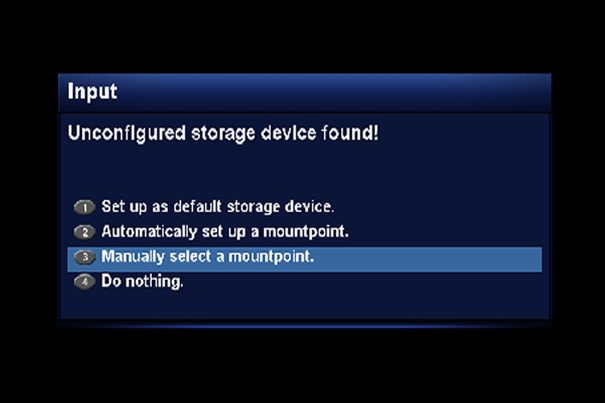
19) Select (3) <Manually select the mount point> press OK:
20) Now < left arrow > to set < Enable partition automount? > to < yes > :
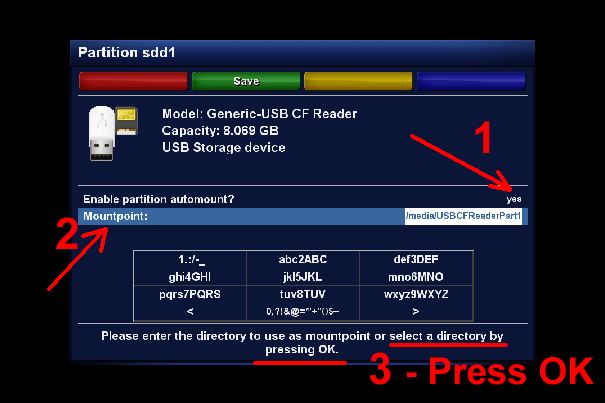
21) press arrow down to highlight < Mountpoint > ( according to picture above ) and press
OK - to see :
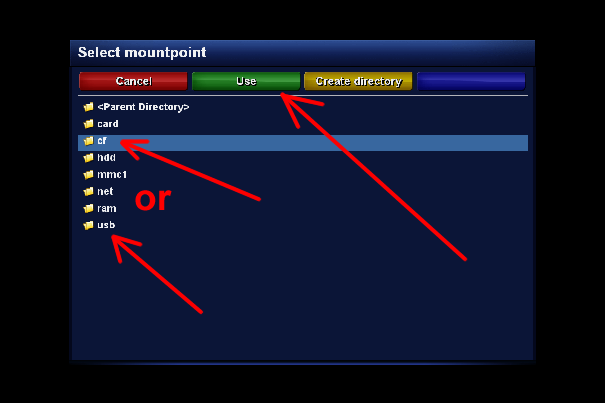
22) Highlight < usb > (according to your device) and press < Green > Save -> confirm once more by pressing < Green
> Save - and press OK to use :
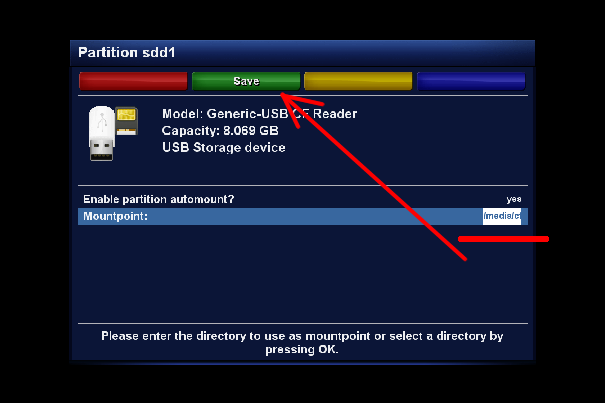
23) It should look similar to the picture:
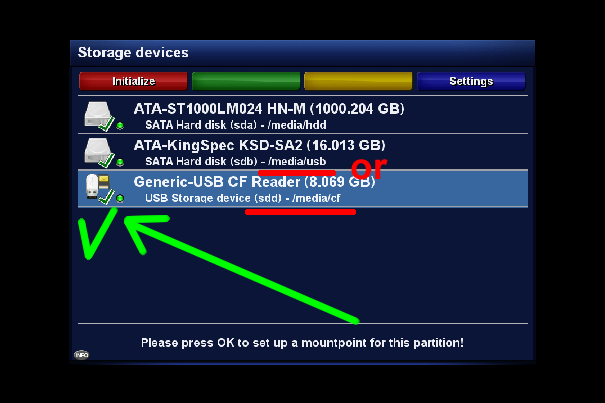
24) You're ready to go to -> Menu -> Plugins -> MultiMiniBoot and
complete installations of mmboot - selecting (in my example) </ media/usb or /media/cf or....> and pressing OK:
( in the example I have chosen cf )

24a)
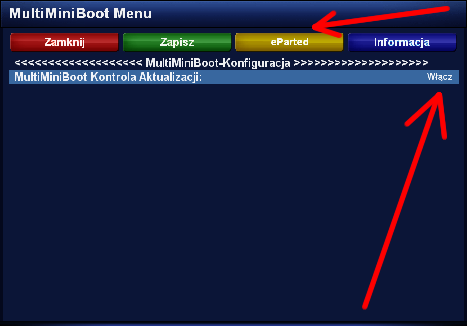
Info 1) you can use eParted (included in mmboot) later - by pressing in MultiMiniBoot < Menu > ; you can also enable/disable autouptade of mmboot there.
You can also format other devices like pendrive, hdd, cf sd etc..
#################################################################################################################################################
Squashfs - applies dm800se i dm500hd only ! ( version1 of course)
25)
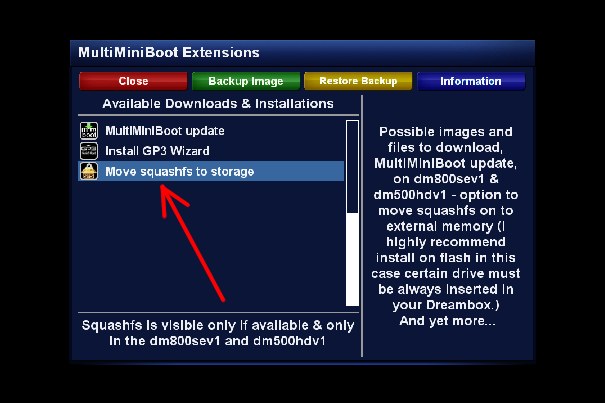
You can use that function but it's not necessary. However I recommend you usage in
dm800se i dm500hd V1 by pressing <Move squashfs to storage> - dreambox will become faster (booting as well as normal run)
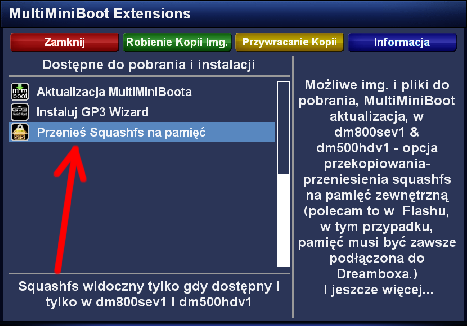
To perform that operation go to -> MultiMiniBoot < Blue
> Extensions and perform < Move Squashfs to storage >:
Attention -
since starting that operation pendrive must stay inserted into dreambox
- otherwise you will have to re-flash dreambox ( don't be afraid,
you will not damage
dreambox ):
After executing this function - mmboot will ask for restart - of course
push <Yes>
- that reboot takes more time than normal - box will be restarted twice
in the time of booting - summary time of whole operation (moving squashfs including restarts) is about 4-5 min. You have to just wait till dreambox will start form flash again.
This double restart is one time operation - just this time.
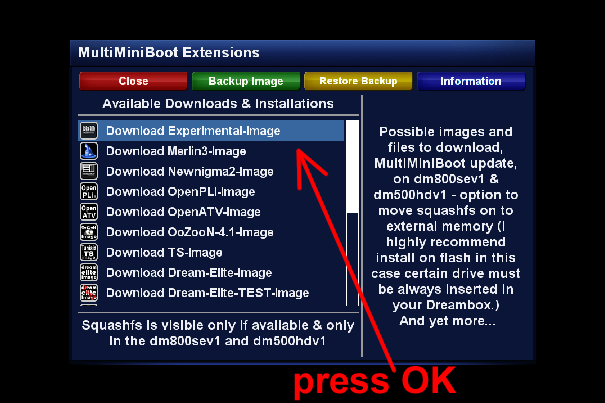
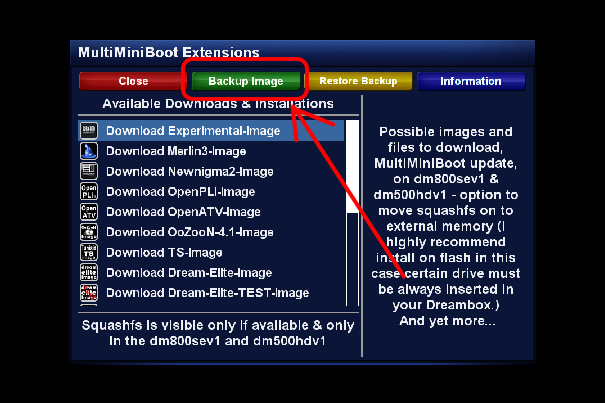
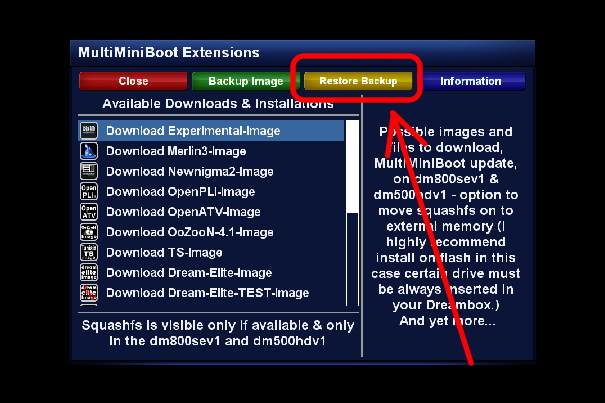
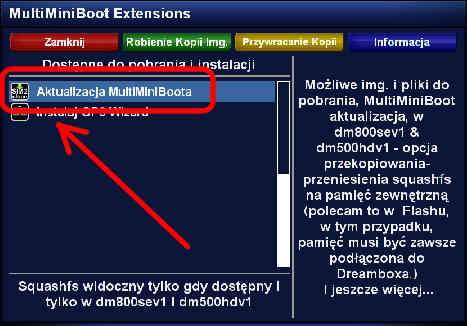
26) Now you're ready to install image into usb. goto -> MultiMiniBoot < Blue > Extensions - and you can choose one of them:
1 Download Experimental-Image
2 Download Merlin-Image
3 Download Newnigma-Image
4 Download OpenPLi-Image
5-Download OpenATV-Image
6-Download OoZooN-Image
7-Download TS-Image
8-Download Dream-Elite-Image
9-Download Dream-Elite-TEST-Image
10-MultiMiniBoot update
11-Install Wizard GP3 (when GP3 is installed - will be -> Install CamFedd for GP3)
12- Move Squashfs memory (only if available)
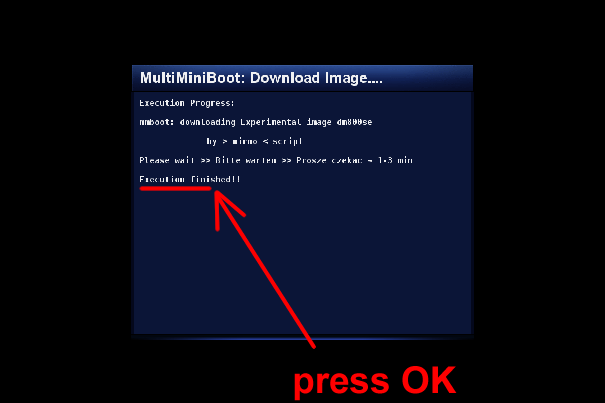
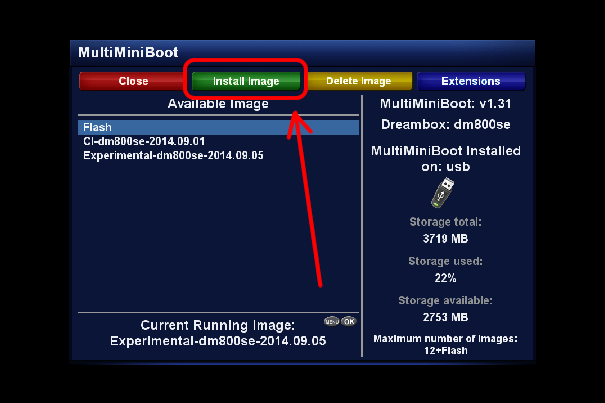
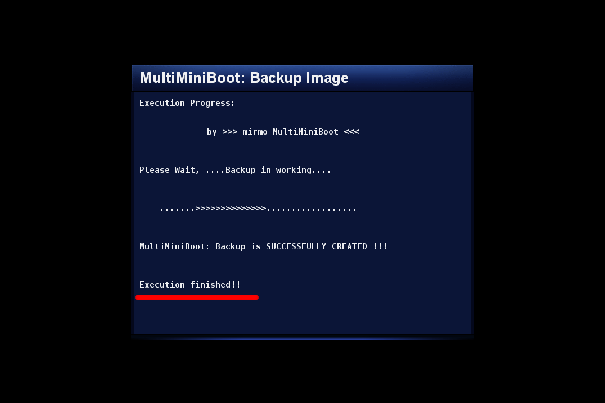
27) Highlight ; let say < Download Experimental-Image> and press OK - after downloading you will see < Execution finished > press < OK > again and you can install image by pressing < Green
> Install image:
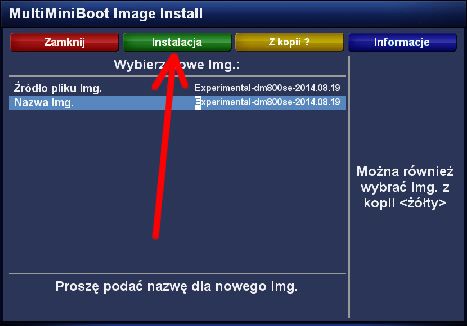
28) You will see <Source Image file> - press arrow down to <Image Name> ( arrow left or right will copy Source Image File to Image Name):
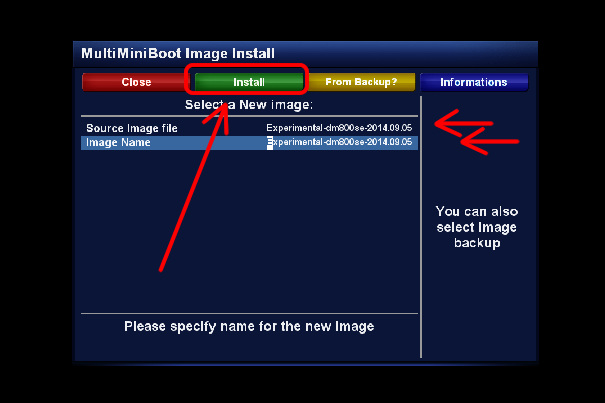
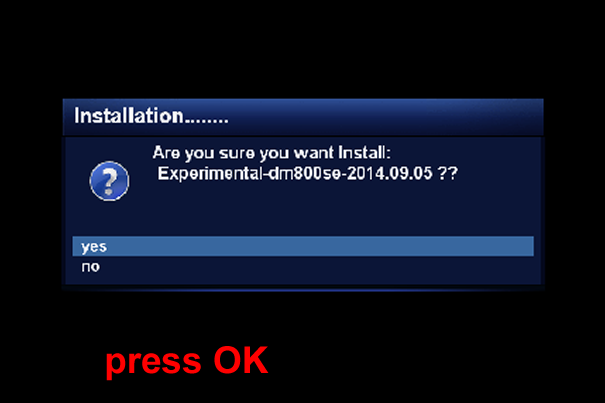
29) And just press < Green
> Install -> confirm by pressing < Yes > and wait till dreambox will be rebooted and start on a new installed image.
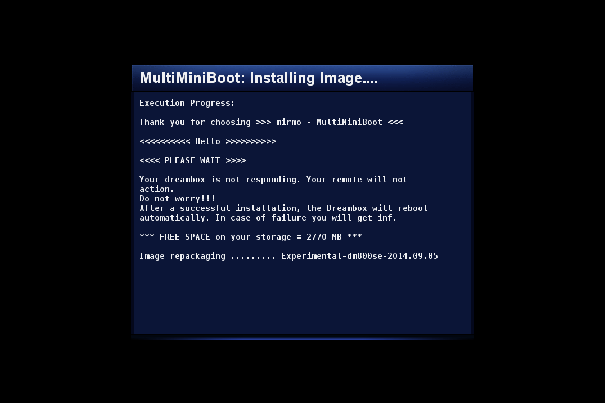
30) Installing image takes from
1min - to even 8min, according to pendrive speed ( in my case,
installing into noname pendrive in 800se took less than 3min. )
PS. for comparison: in dm8000 I have ssd 16gb and installing much more large image than 800se (
100MB ) takes about 1min
have fun and enjoy - wish you as usual < mirmo - miromoni >
31) Attention!!!
On image installed into USB (pendrive) please don't mount pendrive again.
Pendrive has been already mounted (in the boot time) and there is no possibility to mount it again.
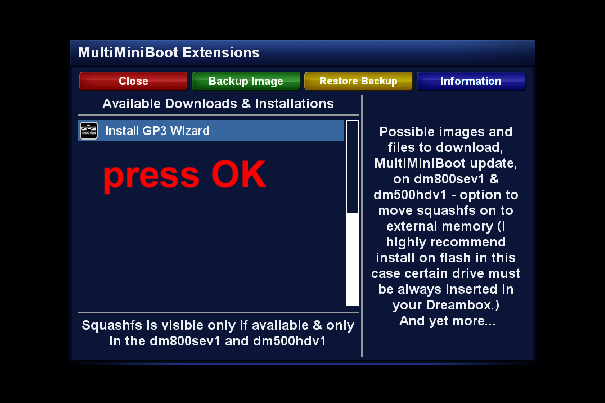
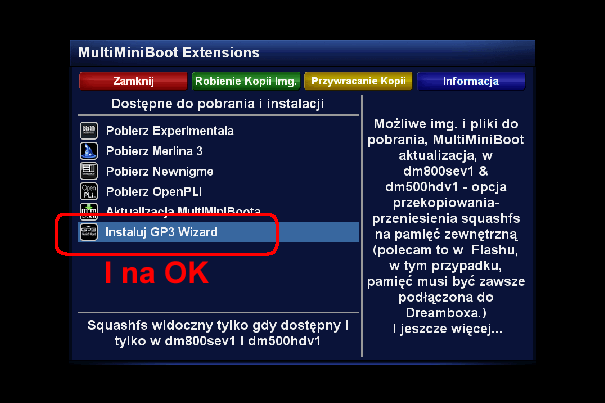
32) Using mmboot we can install GP3 Wizard on just installed fresh image just using remote controller.
To do that, press <Blue> Extensions - into mmboot - and select <Install GP3 Wizard>
Highlight it - and press OK - confirm Restart GUI -Yes - Done
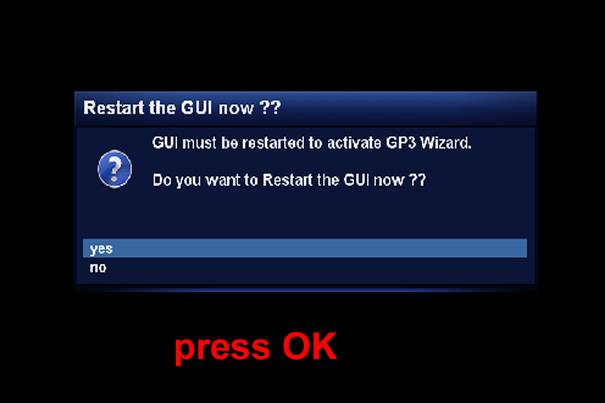
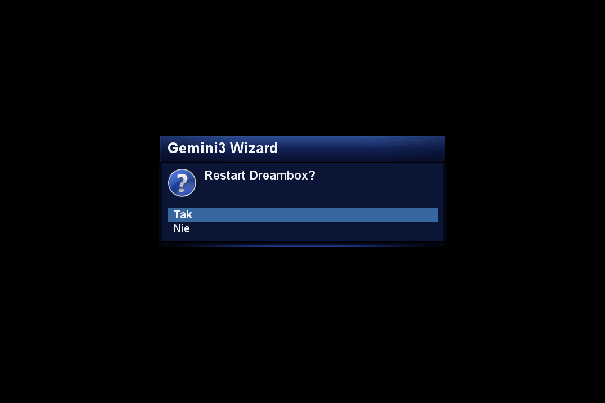
After restarting GUI - enter menu -> Plugins - and we have our Gemini3 Wizard - which can be immediately installed:
Select - press OK - confirm Yes and wait till Gemini-Plugin will be installed and ask for restart of Dreambox - Yes:

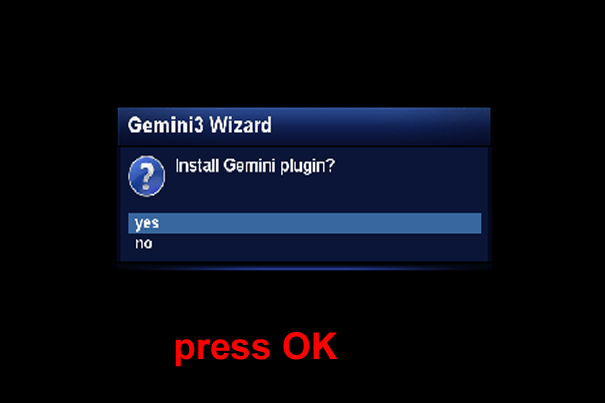
After reboot GP3 has been installed.
###########################################################################################################################
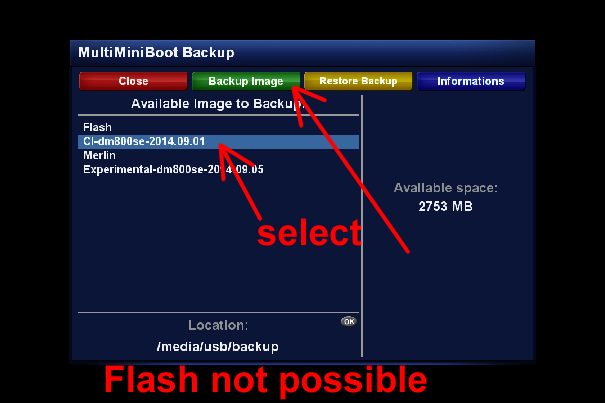
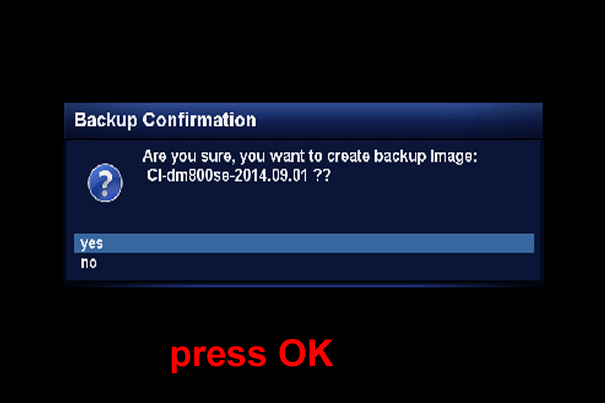
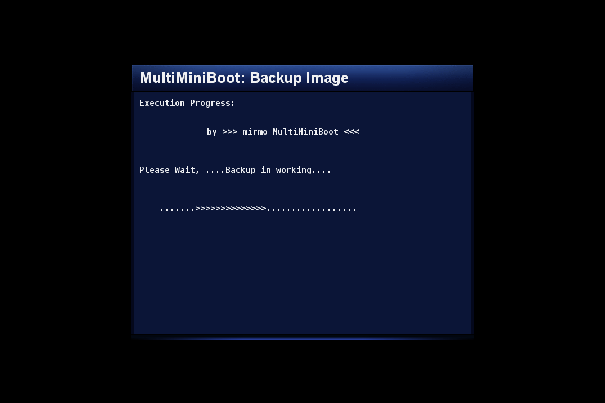
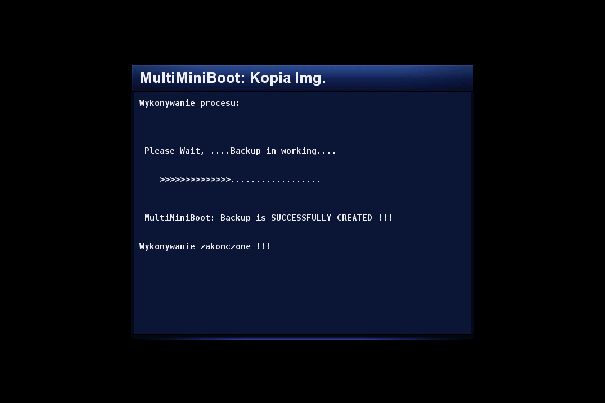
Backup
33) you can also perform backup - what mean exact copy of image - to do that press <Blue> Extensions and <Green>
Backup Image.
Select image for backup - and press OK - or <Green> - and confirm Yes
###########################################################################################################################
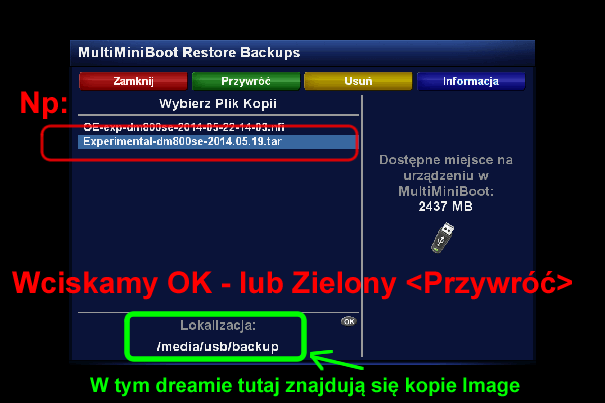
Restoring backup
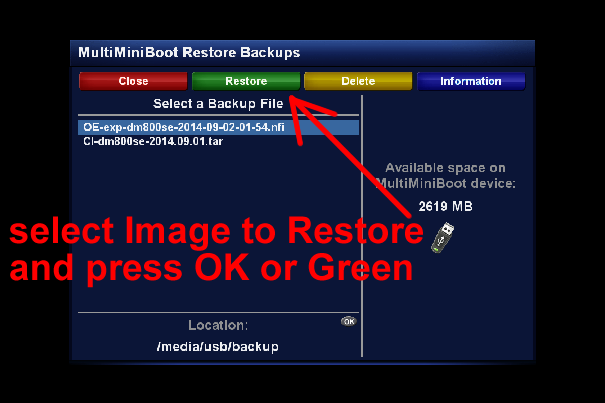
34) In the same, simple way, you can restore backed-up image.
To do that, press <Blue> Extensions and <Yellow> Restore Image( I mean restoring your Backup )
and next like installing a new image (it takes a few seconds ) (We can also remove Backup here - Delete)
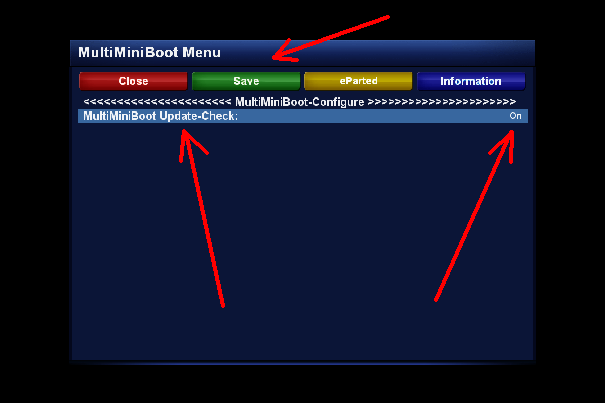
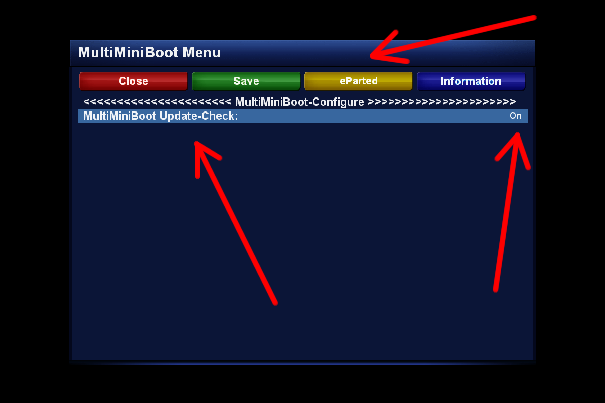
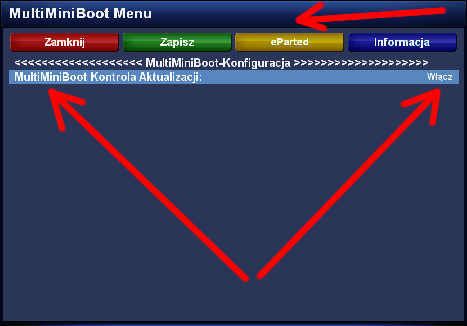
Since 1.31 version "MultiMiniBoot Update-Check" have been available - you can enable it or disable. To do that, enter MultiMiniBoot and press < menu > . You can also enter eParted
there to initialize hdd, other pendrive, cf or sd.
Have fun..........
###############################################################################################################################
###############################################################################################################################
###############################################################################################################################
35)
And now something for clones sim2 - v1 i v2
It's easy
Install image into flash - but don't use image from @ramiMAHER and not OpenPLi etc.
Image from @ramiMACHER will work only on dm800sev2
In v1 boxes image from @ramiMAHER cant' mount external storage devices in boot.
Working images from @Jasper - I put also the following images into upload:
<<<< Clean Experimental -clone800se -sim2 84d
>>>>
<<<< Clean Experimental -clone800hd-pvr -sim2
>>>>
<<<< Clean Experimental -clone500hd -sim2 84d
>>>>
Know how:
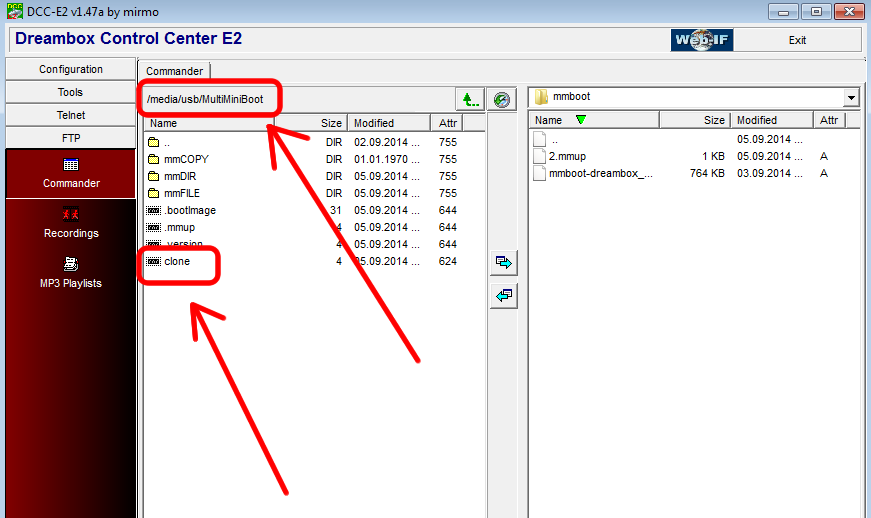
Install above listed images - mount pendrive and install mmboot.
After restart write - (it can be even empty) file named: "clone"
- into directory /media/MultiMiniBoot/
clone ---- this is just for knowing by plugin mmboot it is clone box
If there is file named "clone" -- mmboot know it is clone-sim2:
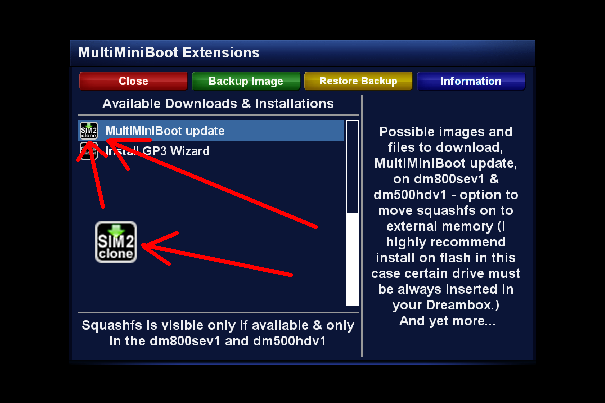
Later on enter w "Extensions" ( Blue
) in mmboot and perform update (doesn't matter if is older or newest version )
MultiMiniBoot will write clone-directory where files necessary for patching and scripts will be copied.
You will see "Sim2 clone" icon next to "MultiMiniBoot update" :

Perform that update - and after restart you can normal download and install images using remote ( or once more install mmboot from *.ipk - then script ipk will do the same update )
I will explain you what exactly do update with "clone" file:
- after update having "clone" file - in the time of installing a new image,
mmboot will start additional script which will copy module,
enigma2 patch into newly installed Image. In directory
/media/MultiMiniBoot/ -will be added additional
folder "mmCloneCOPY" - where mmboot will copy necessary files.
So you have to do that immediate in flash, in the other case newly installed Image will not be shown - will not be patched
Don't forget - first create file named
"clone" in directory /media/MultiMiniBoot/
and next perform mmbot update.
If you want install already patched image (for example from @jaspera or @ramiMAHER
)copy that image to "backup" and perform restore Image from
folder "backup" - image will not be patched (cause image has been
already patched )
PS: If folder "backup" doesn't exist neither in "/media/usb/backup" nor in "/media/hdd/backup"
( only these two locations ) - just create it there and copy into already patched image.
IN THE EXTENSIONS IN MMBOOT next to Update mmboot you must see icon < sim2-clone > and just then you have to perform MultiMiniBoot update
!!!!!!!!!!!!!!!!!!!!!!
Greetings
Have fun wishes > mirmo < ..................................
For translation into English thanks to @vivaldiTDM